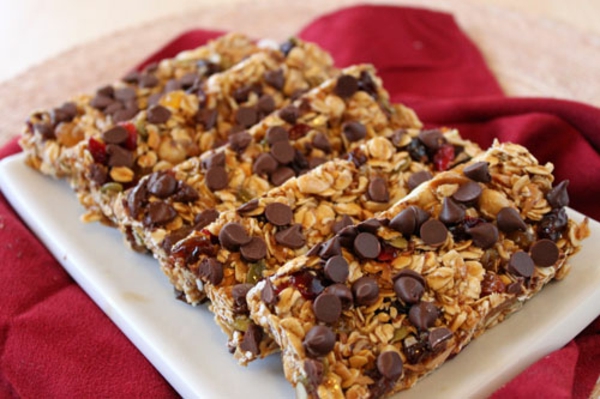
How to Make Homemade Granola Bars
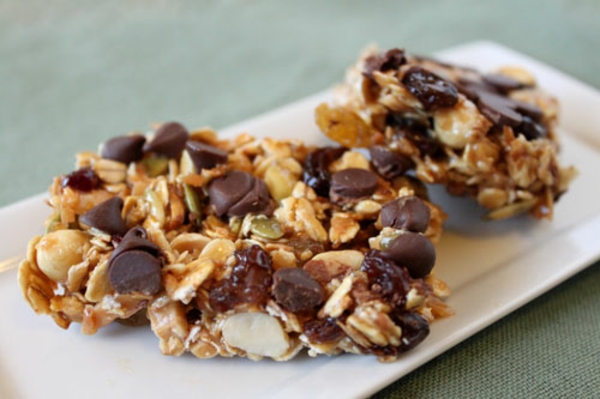
Happy September! In many parts of the country school will be starting soon, and what better way to welcome the change in schedule than with a great back-to-school snack? These soft, chewy homemade granola bars are perfect for breakfasts on the go, tucking into school lunches, or between-meals snacks.
They’re equally popular with adults–I particularly like them as a pre-workout snack, because they give me great energy without being too heavy. Best of all, each recipe makes a big pan so you can make several week’s worth of granola bars in just an hour.
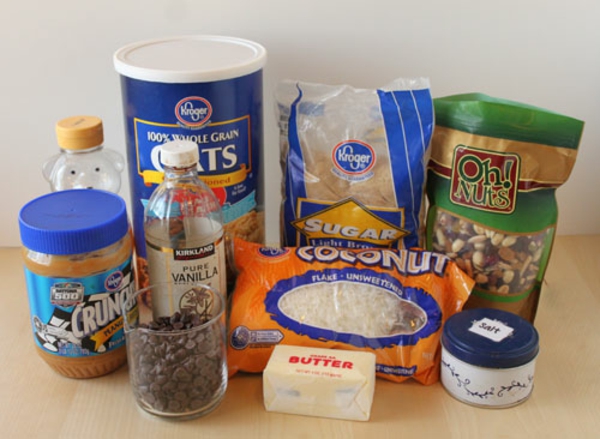
Here’s what you need for homemade granola bars:
Ingredients
- 2.5 cups old-fashioned oats
- 1/2 cup shredded coconut
- 2.5 cups fruit-and-nuts trail mix
- 1/2 cup brown sugar
- 1/2 cup honey
- 4 tbsp butter
- 2 tsp vanilla extract
- 1 tsp salt
- 1/4 cup peanut butter
- 1/3 cup miniature chocolate chips
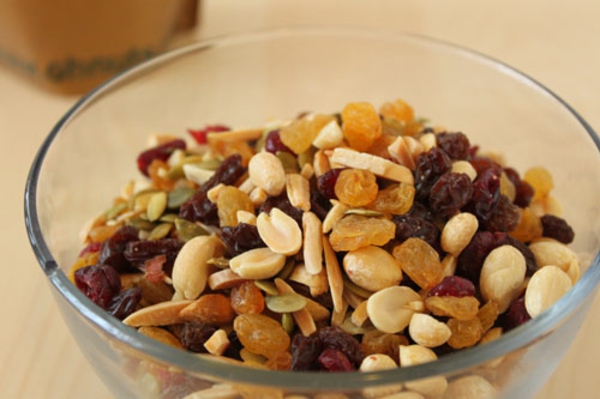
The star of the show will be this Cranberry Trail Mix. I like it because it’s colorful and has a great variety of flavors: it includes peanuts, two kinds of raisins, cranberries, and pumpkin seeds. You could also try one of these other trail mixes: Energizer Mix, Raisin Mix, Trail Deluxe Mix, or Ambrosia Delight Mix.
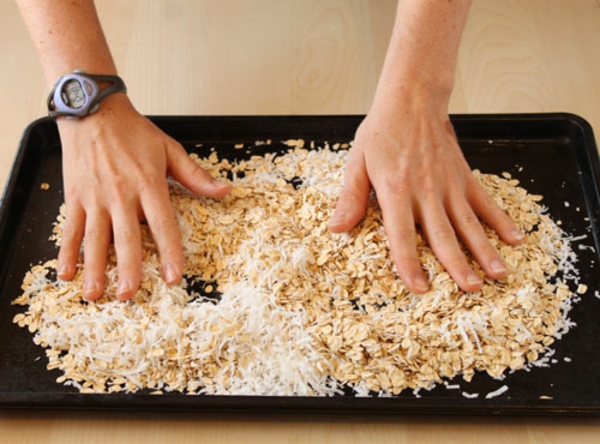
To give these bars a lot of flavor, we need to toast the oats and coconut to deepen their taste. So preheat your oven to 400 degrees, and spread the oats and the shredded coconut out on a baking sheet.

Toast the oats and coconut for about 10-12 minutes, but watch it carefully. Stir the mixture after every 2-3 minutes so that it doesn’t burn. It’s done when the oats and coconut are a golden brown color and the mixture smells nice and toasty. You can turn your oven off, because that’s all the cooking these homemade granola bars require!
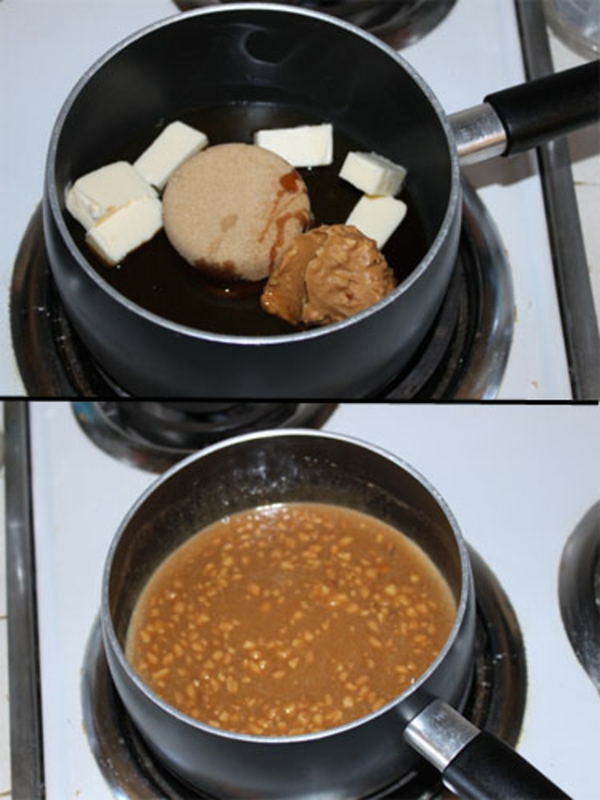
While the oats are toasting, place the butter, sugar, honey, peanut butter, salt, and vanilla in a saucepan over medium heat. Stir while the mixture melts, and bring it just to a simmer. It doesn’t need to boil, you just want to make sure that the sugars and butter are dissolved and the mixture is really fluid.
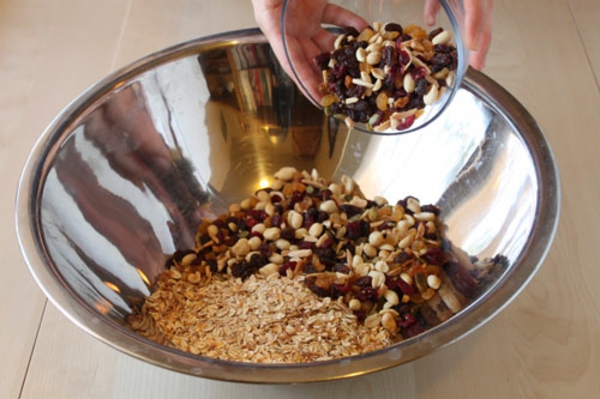
Once the toasted oats are out and slightly cooled, place them in a large bowl and add your trail mix. Toss the whole thing with your hands so that it’s well-mixed.
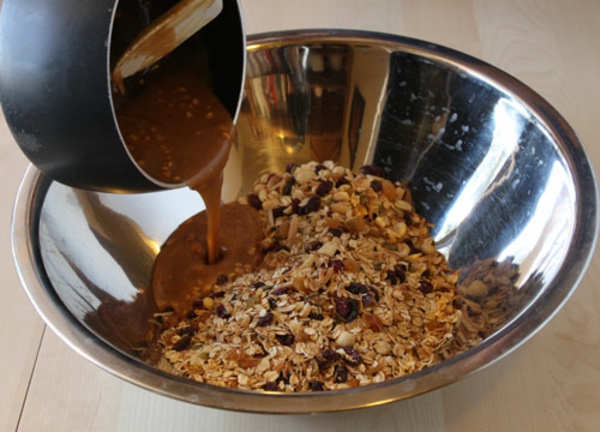
Pour the sugar mixture over the dry ingredients, and stir until it’s combined and everything starts to stick together. Be sure to really dig around and make sure there are no dry pockets waiting at the bottom of the bowl.
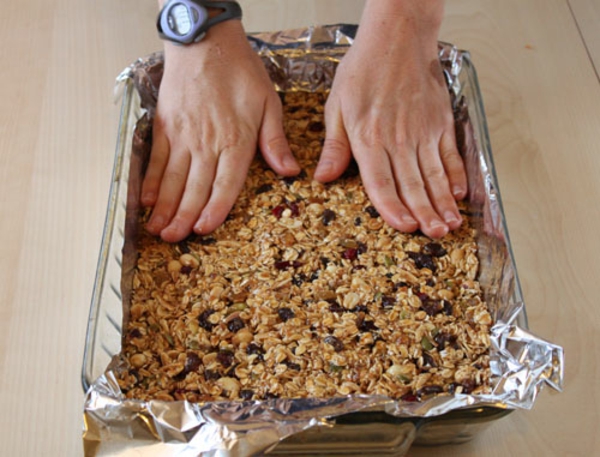
Scrape the granola mixture into a 9×13″ pan that’s lined with foil and sprayed with nonstick cooking spray. The foil and spray will make the bars much easier to remove later. Now the most important part of this recipe is making sure that the bars are really compacted, otherwise they won’t hold together well when they’re cut. So spray your hands with cooking spray, or wet them with water, and really press down hard on the bars to compact them.
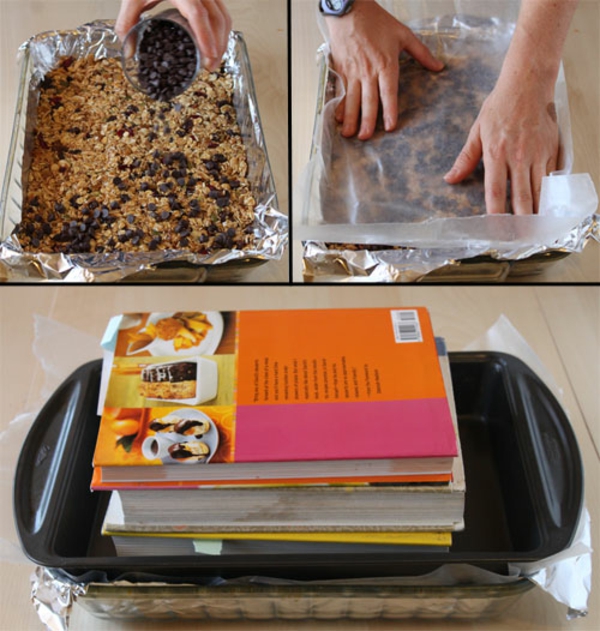
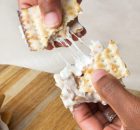
Sprinkle the miniature chocolate chips on top of the bars. Here’s my secret method for making my bars really solid: I cover the top of the pan with waxed paper, then put another 9×13″ pan on top of the first. Then I fill the top pan with something heavy (usually cookbooks). The weights press down on the pan while the bars cool and produce a nice, compact, stable bar without any extra work on my part!
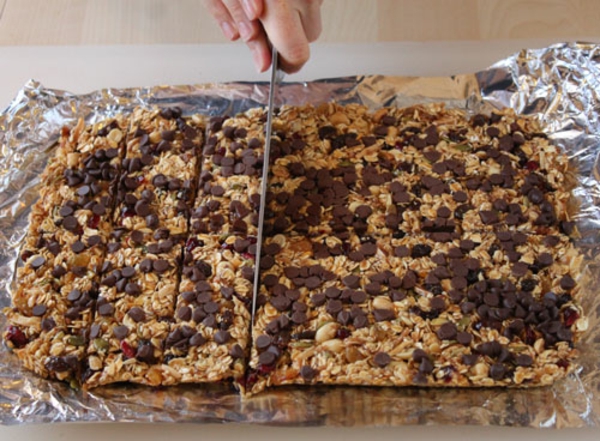
You’ll want to let these cool for at least a few hours, to give the sugar syrup time to really set and hold all of the dry ingredients together. You can speed up the process by refrigerating the bars for about an hour. Once they’re cool, lift them out of the pan using the foil as handles, and use a long sharp knife to cut them into bars. I usually get 16-20 bars out of one pan, but it all depends on what size you like your homemade granola bars.
Wrap the granola bars individually in cling wrap or waxed paper. They can be stored at room temperature for up to a week, but they keep much longer in the refrigerator, and practically forever in the freezer. I think once you’ve tried homemade granola bars, with completely customized fruits and nuts, you’ll never go back to storebought granola bars again.
All text and photos (c) 2010 Elizabeth LaBau