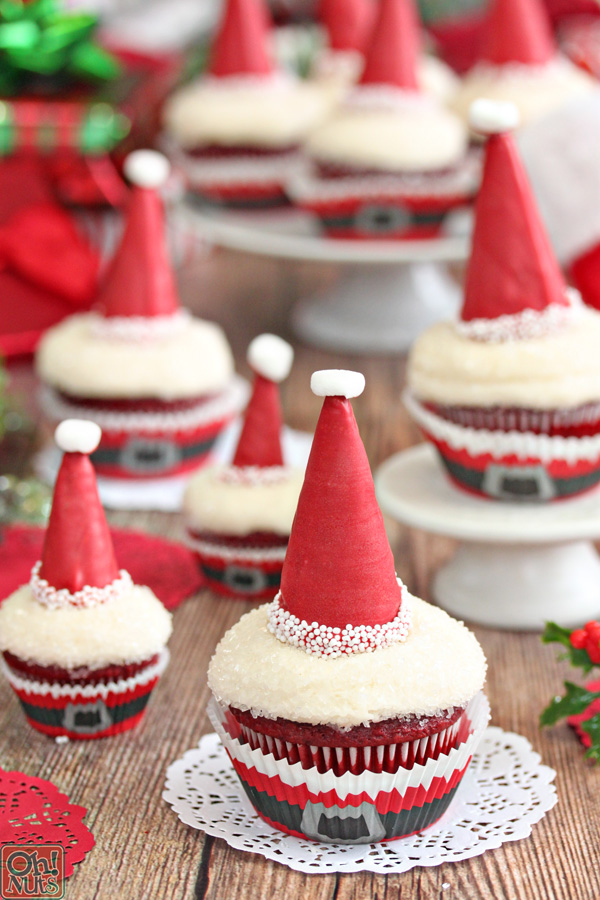
Santa Hat Cupcakes
Prep time
Total time
Author: Elizabeth
Serves: 12 santa hats
Ingredients
- 12 waffle cones
- 6 mini marshmallows
- 9 oz (1½ cups) red melting chocolate wafers
- White nonpareils or sparkling sugar
- Frosted cupcakes (or mini cupcakes!)
Instructions
- Using a sharp serrated knife, gently saw through the waffle cones. If you're making standard-size cupcakes, give yourself about 2½-3 inches for a Santa Hat, and if you're making mini cupcakes, keep it closer to 2 inches or a little under, so the hats will be proportional to the cupcakes.
- Cut the mini marshmallows in half, leaving you with 12 marshmallow halves.
- Place the red melting chocolate wafers in a microwave-safe bowl and microwave in 30-second increments until melted and smooth, stirring after every 30 seconds to prevent overheating.
- Cover a baking sheet with waxed paper or parchment. Submerge one of the waffle cone tips in the red coating, and push it down so it's completely covered. Use a wooden skewer to fish it out of the coating and hold it over the bowl until all the excess drips back down into the bowl.
- Transfer the dipped cone to the baking sheet—you can use a fingertip on top the cone to make the process more stable, if you need to. Press a mini marshmallow firmly on top of the cone. Repeat the process until all of the cones are dipped and have a marshmallow topper. Refrigerate the tray briefly to set the cones, for about 10 minutes.
- Re-warm the red coating, if necessary. Put the white nonpareils or sparkling sugar in a small bowl. Dip the bottom of a cone into the coating, coming about ¼-inch up from the bottom, then press the bottom of the cone into the white nonpareils. Put the santa hat back onto the baking sheet and repeat until the rest of the hats have the white sprinkles on the bottom.
- Store the Santa Hats in an airtight container at room temperature until ready to use. Pop them on top of cupcakes, mini cupcakes, or even a full-sized cake!
Recipe by Oh Nuts Blog at https://www.ohnuts.com/blog/santa-hat-cupcakes/