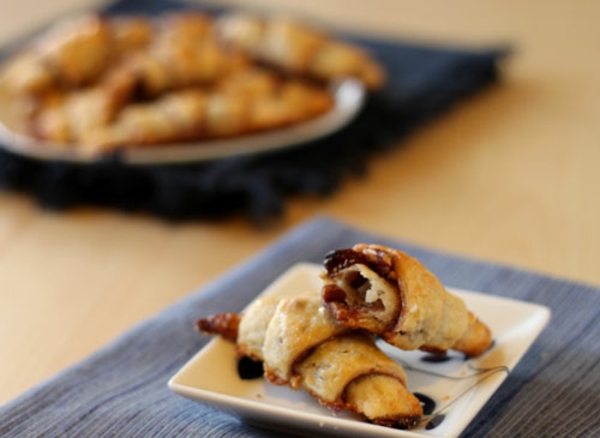
Homemade Hanukkah Gelt
Hanukkah will be here in just a few weeks! Are you ready? Let’s run down the checklist: Menorah? Check. Dreidel? Check. Hanukkah gelt? Well…you can buy the chocolate coins, of course. (Oh Nuts has a fine selection of chocolate coins here.) But wouldn’t it be more fun to make your own gelt for Hanukkah this year?
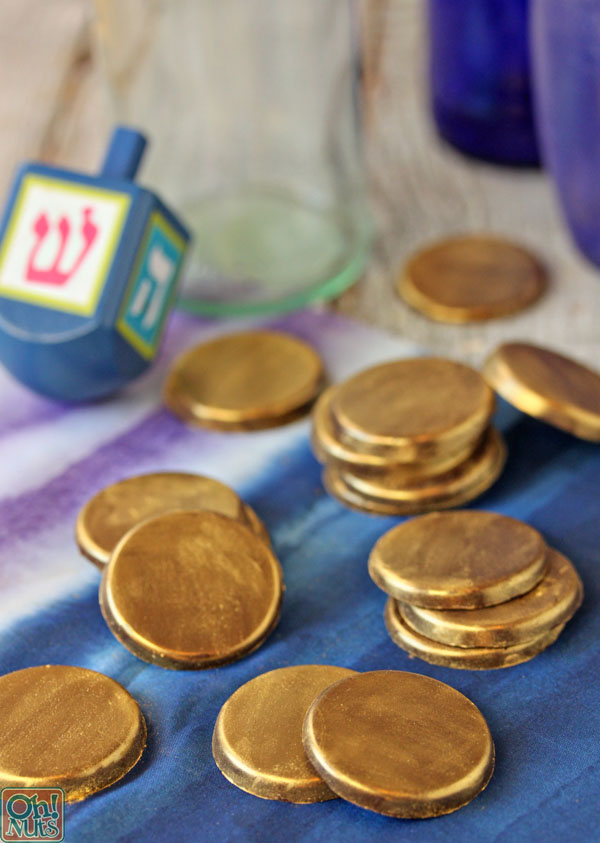
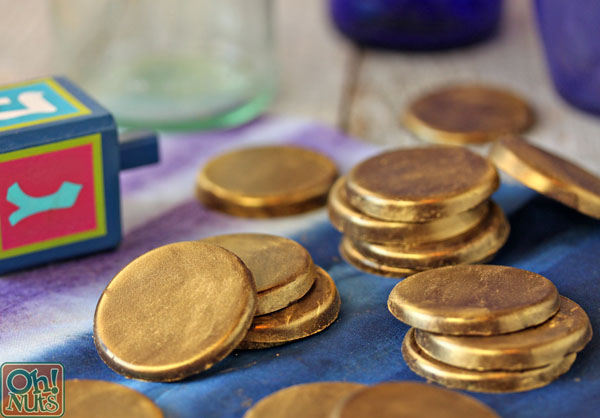
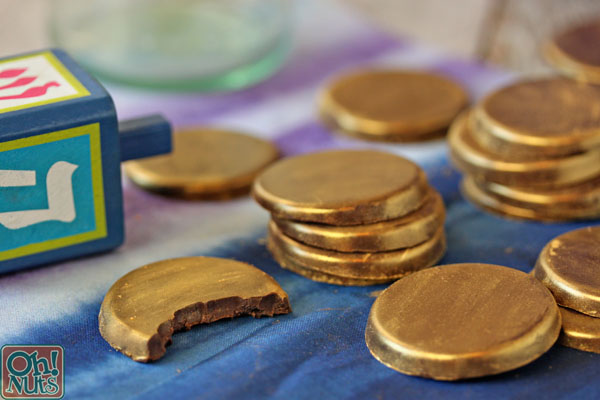
Yes–you can make your own chocolate coins for Hanukkah! These coins are super simple and quick to make, and they look gorgeous! They have a beautiful shine and are almost too pretty to eat. (Almost…)
The best part is, you can customize them to suit your taste. Prefer white chocolate? Use that instead! Want to add a pinch of cinnamon, a dash of peppermint oil, or some orange zest? Do it! You could even add crispy rice cereal or finely chopped nuts, if you don’t mind a little texture in your chocolate coins.
If you don’t celebrate Hanukkah, this is still a great recipe to have in your back pocket! These coins can be used as elegant cake or cupcake decorations, or as part of a themed birthday party–can’t you imagine them sticking out of a pirate’s chest?
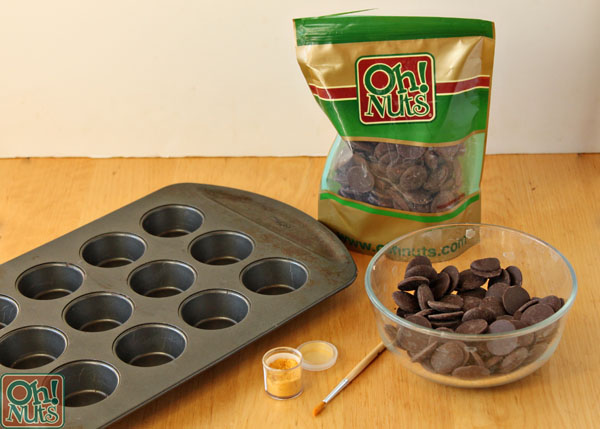
Homemade chocolate coins are easy, they’re fun, and they’re a great recipe to make with kids. Have I convinced you to make them yet? Here’s everything you’ll need:
Homemade Hanukkah Gelt
yield: 24 coins
Ingredients
- 8 oz (about 1 1/3 cups) milk melting chocolate wafers
- 2 mini muffin tins
- Gold luster dust (I used Super Gold by CK Products)
- Clean, food-safe paintbrush
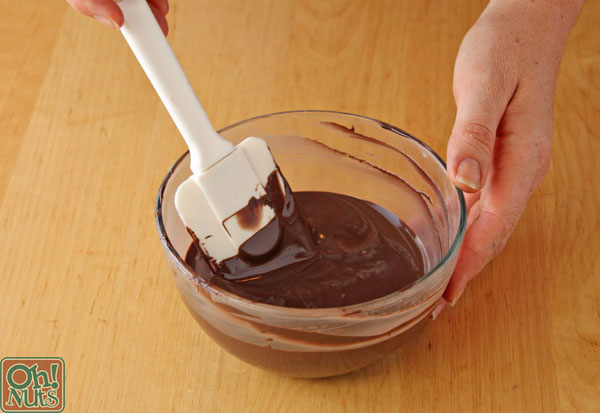
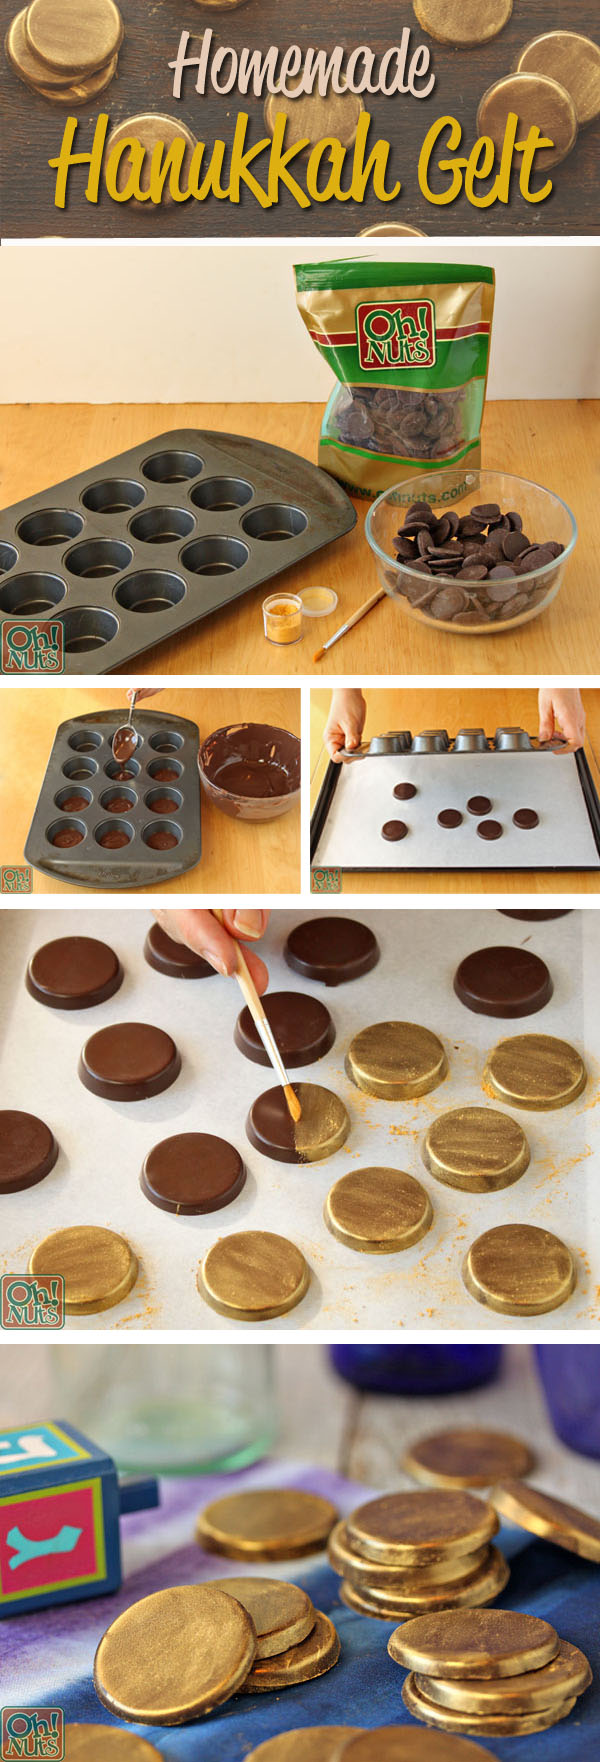
Place the chocolate wafers in a microwave-safe bowl. Microwave the wafers in 30-second increments, stirring after every 30 seconds, until the wafers are melted and smooth. This is literally the only “cooking” you are going to do for this recipe–not bad, right?
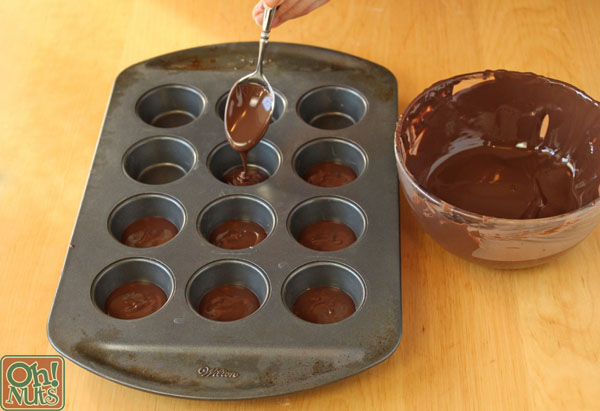
Drop a spoonful of melted chocolate into 24 mini muffin cavities. You don’t need to use a lot–the coins look better when they’re thinner. It’s not necessary to measure out the chocolate, but if you’re a precise sort of person, about 1 1/2-2 tsp of chocolate per coin will work nicely. A generous dollop from a regular spoon should give you this amount.
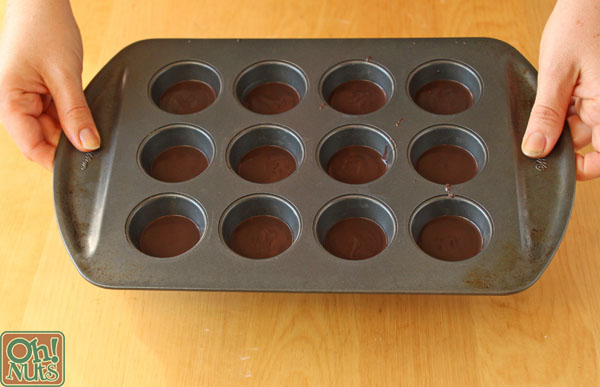
Bang the muffin pans against the counter several times, to level out the chocolate and reduce any “peaks” on top of the chocolate. Refrigerate the pans until the chocolate is completely set, about 20 minutes.
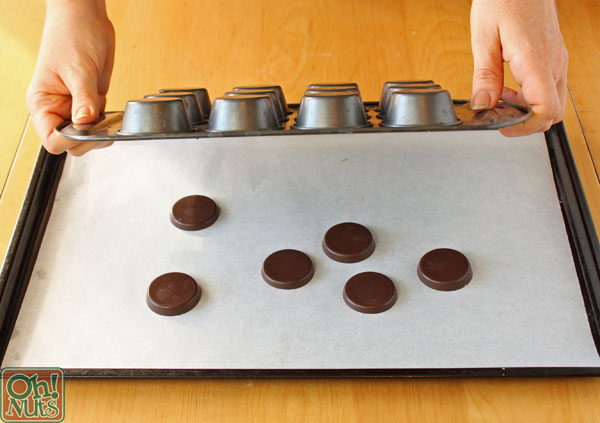
Turn the pans upside-down over a clean surface, and flex them to release the coins. If some of them stick in the pan, sharply knock on the bottom of the tin with your fist to dislodge the coins.
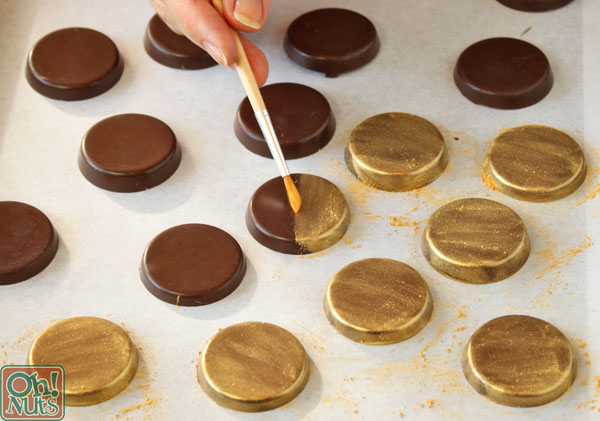
Use a clean, dry food-safe brush and brush luster dust over the surface of the coins. Luster dust and water do not mix, so don’t get any fancy ideas about mixing them together to make gold paint–you’ll just end up with a sad, gloopy mixture. Dry brushing is the way to go!
A note about the luster dust: I used Super Gold dust by CK Products, which is available online and is often found at cake and candy supply stores. Note that it is labeled “non-toxic,” but has not been labeled “edible” by the FDA. My personal opinion is that the amount of luster dust consumed is so small as to be inconsequential, but if you are concerned about it, consider using edible gold leaf to cover the chocolate instead. You can see more about how to apply gold leaf in this recipe for chocolate-covered caramels.
And that’s it! These chocolate coins are so easy, and so beautiful! As always, an easily printable recipe and pin-able image are below. Happy Hanukkah, friends!
Homemade Hanukkah Gelt
yield: 24 coins
Ingredients
- 8 oz (about 1 1/3 cups) milk melting chocolate wafers
- 2 mini muffin tins
- Gold luster dust
- Clean, food-safe paintbrush
Directions
- Place the chocolate wafers in a microwave-safe bowl. Microwave the wafers in 30-second increments, stirring after every 30 seconds, until the wafers are melted and smooth.
- Drop a spoonful of melted chocolate into 24 mini muffin cavities. You don’t need to use a lot–the coins look better when they’re thinner.
- Bang the muffin pans against the counter several times, to level out the chocolate.
- Refrigerate the muffin pans to set the chocolate, for about 20 minutes.
- Invert the muffin pans over a clean surface, and flex them to release the coins. If some of them stick, sharply knock on the bottom of the tin with your fist to dislodge the coins.
- Use a clean, dry food-safe brush and brush luster dust over the surface of the coins.
- Hanukkah Chocolate Coins can be made several weeks in advance and stored in an airtight container at room temperature in between sheets of waxed paper. The gold coating will get scuffed if they rub against each other, so you may need to reapply a bit if they are stored for a long period of time.
All text and images (c) 2013 Elizabeth LaBau

