
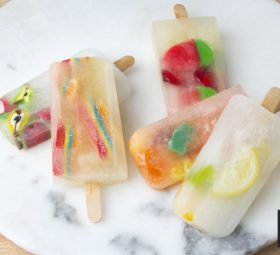
Summer is finally here and with it – the heat! A great way to cool down and enjoy the sun is ice pops but why buy when you can make them at home easily? Not […]
Latest Posts

Mother’s Day Rice Crispy Treats
 Author: nutblogger
 Posted: April 26, 2018
Mother’s day is a day to say Thank You to all the wonderful mothers in our lives and we all know that the best thing you can give a person is the gift of treats […]
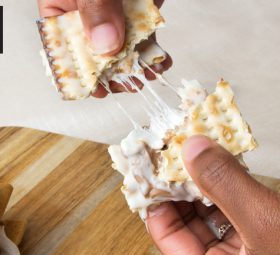
Passover S’mores Two Ways
Author: nutblogger
Posted: March 20, 2018
S’mores might be the most delicious treat that everyone loves! It’s easy to make but is always a great hit with both kids and adults alike. Did you know you can adjust S’mores for Passover! […]
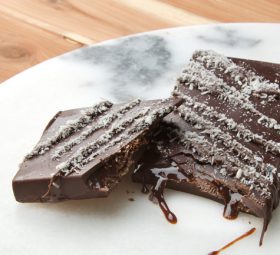
Passover DIY Chocolate Bars !
Author: nutblogger
Posted: March 12, 2018
Passover is hard enough – with all the cleaning and running around finding lost Chometz in your house – cooking and baking can be challenging. Passover sweets are great and can be delicious as well! […]
Purim Rules for Success
Author: nutblogger
Posted: February 25, 2018
The Knack for Getting Shalach Manos Just Right There is a trick to knowing how to send the perfect Mishloach Manot gift. Rule #1 – Show you know their personality and their needs There are […]
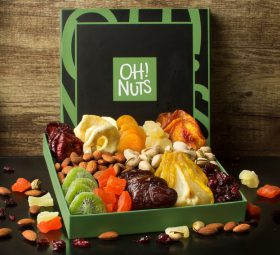
Tu B’Shvat Goodies
Author: nutblogger
Posted: January 7, 2018
Tu B’Shvat, A celebration of spring and the return of life, the Jewish holiday Tu B’Shvat comes early in the year at a time associated with the flowering of trees in Israel. If you want […]

The Definitive Guide to Correct Camp Packages
Author: nutblogger
Posted: July 23, 2017
There are some hard and fast rules to sending the perfect camp package to your precious camper. Never send a plush, huggable, Emoji pillow to a teenage boy. You may send that squishy care package […]
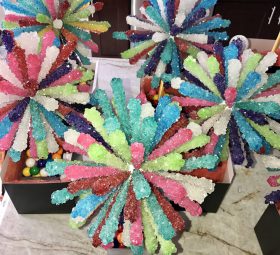
Rock Candy Sticks Centerpieces
Author: nutblogger
Posted: May 16, 2017
Beautiful on a stick and tasty as well, these lollipop Swizzle Sugar Sticks are something to smile about! If you are looking to create a one of a kind, spectacular Centerpiece for your wedding, Simcha, […]

The Sweetest Seder Plate
Author: nutblogger
Posted: March 30, 2017
For all Hebrew school teachers, creative moms and nurturing Bubbies, here is a fun way to make the Seder plate a candy dessert for children. The base of this Seder plate was really easy. We […]
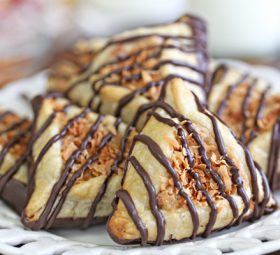
Samoa Cookie Hamantashen
Author: Elizabeth
Posted: March 8, 2017
These Samoa Cookie Hamantashen are a fun twist on a classic Purim cookie! This version has a flaky, crispy crust, a filling packed with toasted coconut and chewy cararmel, and a big drizzle of chocolate! […]