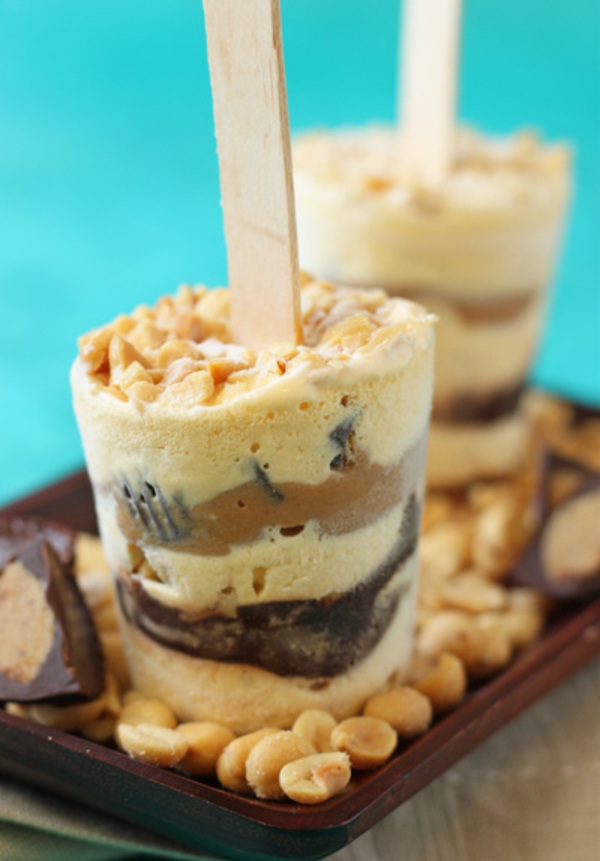
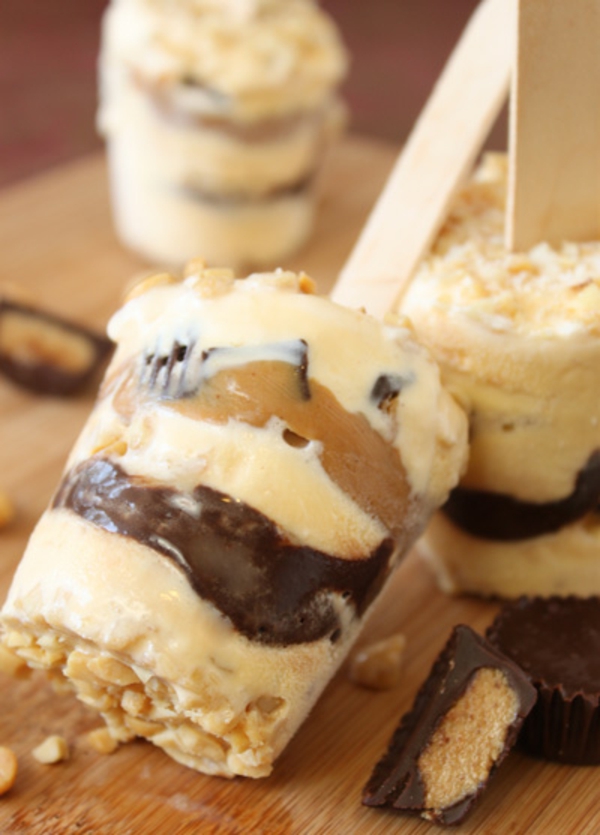
Layered Peanut Butter Brittle Ice Cream Pops Recipe
When temperatures rise, there’s nothing like a bit of ice cream to help cool things back down! If you’re looking to beat the heat during the dog days of summer, try these Peanut Butter Ice Cream Pops.
These quick desserts are an easy way to put a homemade spin on plain vanilla ice cream. Store-bought ice cream is layered with chocolate fudge sauce, salty peanuts, peanut butter, and chunks of peanut butter cups candy, in individual popsicle form. They’re cold and creamy, sweet and salty, and the perfect antidote to hot summer days!
Peanut Butter Ice Cream Pops Recipe
yield: 8 individual servings
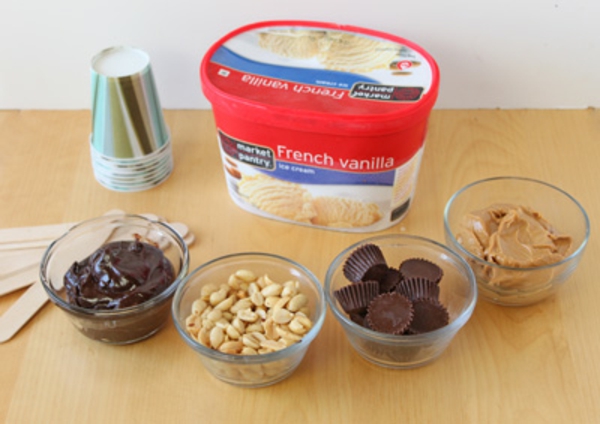
Ingredients
- 1 cup roasted salted peanuts
- 12 chocolate peanut butter cups, unwrapped
- 6 ounces (about 3/4 cup) hot fudge sauce
- 6 ounces (about 3/4 cup) smooth peanut butter
- 1 quart vanilla ice cream
- 8 five-ounce paper cups
- 8 popsicle sticks
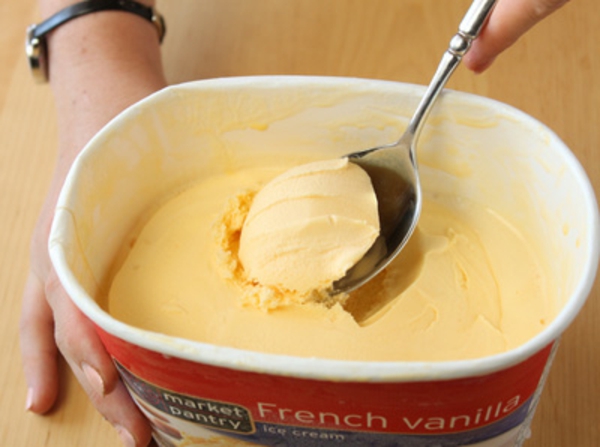
To make these ice cream pops, you want the vanilla ice cream to be slightly softened but not melting. Leave it out at room temperature for a few minutes while you prepare the rest of the ingredients.
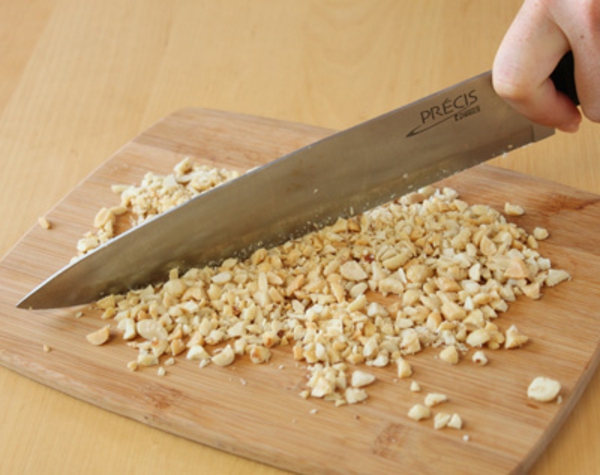
Chop the salted peanuts into coarse pieces. Don’t make them too small–you want their crunchy texture in the pops!
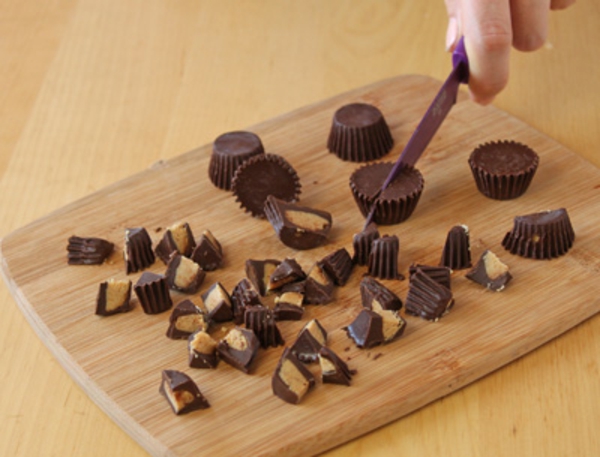
Chop the peanut butter cups roughly into eighths. They should be small enough to eat in one bite, but large enough to give an identifiable flavor and texture to the final product.
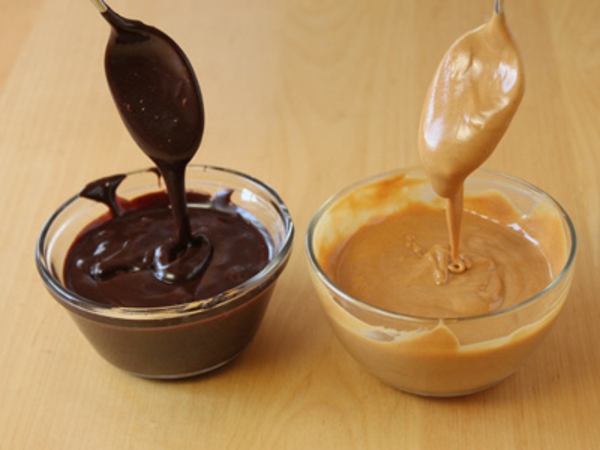
Warm up the hot fudge sauce and the peanut butter in separate bowls in the microwave. You don’t actually want them to be hot, you just want to warm them enough so that they’re fluid and easy to spread. About 15 or 20 seconds each should do the trick.

Now it’s time to start layering! Place a spoonful of chopped peanuts in the bottom of each of the eight paper cups. Take a small scoop of slightly softened vanilla ice cream, about 2 inches across, and place one in each cup.
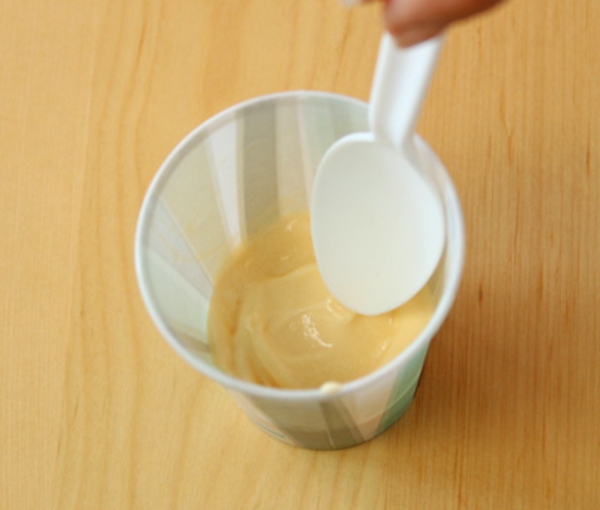
Smooth the ice cream with the back of a spoon until it’s in an even layer. Nothing fancy, just flat enough to let you build the rest of the layers on top.
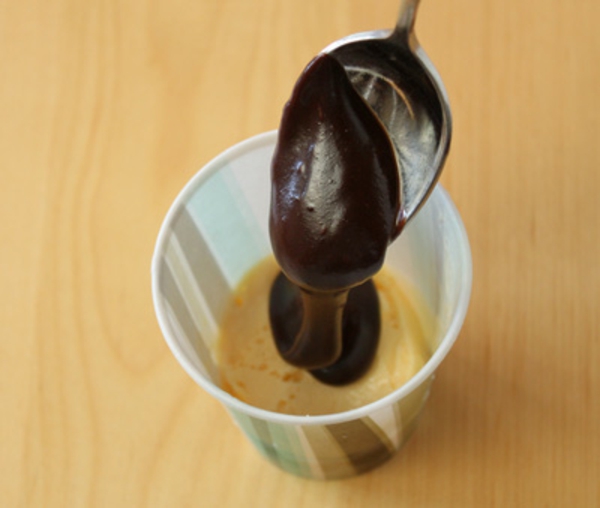
Pour a spoonful of the hot fudge sauce on top of the ice cream. If it doesn’t spread out on its own, use the spoon to nudge it toward the sides so it’s an even layer.
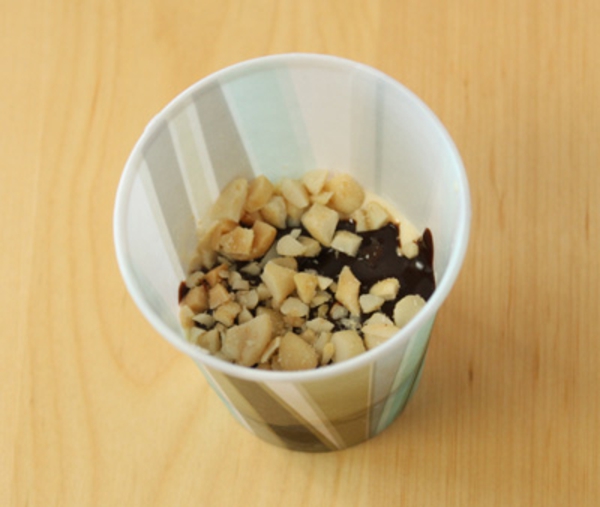
Top the hot fudge sauce with a generous spoonful of chopped peanuts, so that the sauce is mostly covered with nuts.
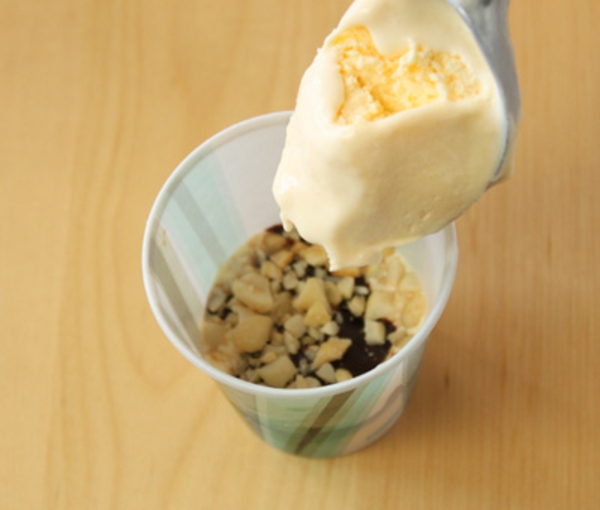
It’s time for another round of ice cream, so add a softened scoop of vanilla on top of the peanuts and spread it around.
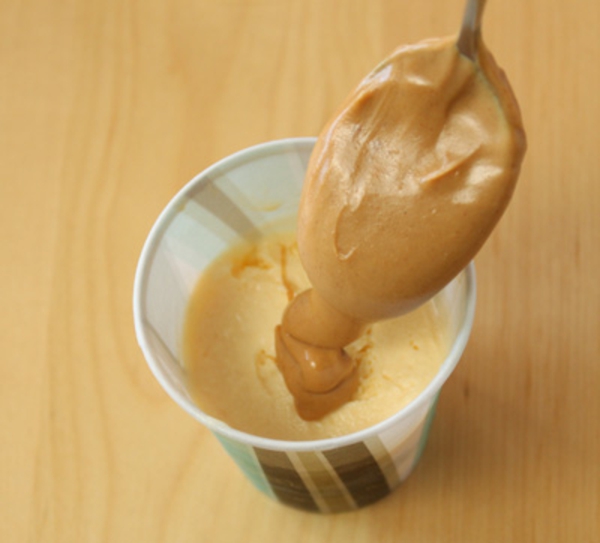
The peanut butter is next! Spoon a tablespoon of the fluid peanut butter onto the vanilla and smooth it into an even layer.
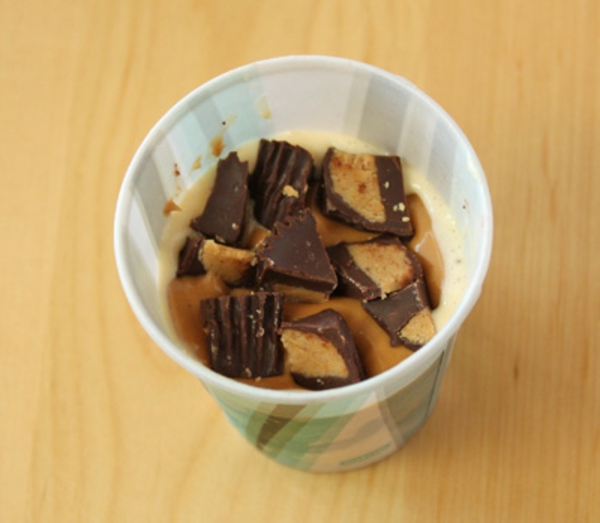
Top the peanut butter with a generous handful of peanut butter cup chunks. These are my favorite part, so I like to make sure that every inch of peanut butter is covered with candy bits.

It’s time for the last layer of ice cream, so spoon it on and then smooth the ice cream out evenly.

Add a layer of chopped peanuts on top of the ice cream and press down on them slightly to embed them in the top. Insert a popsicle stick in the middle and press down until it’s almost all the way through.
Now for the tough part–waiting! Because the ice cream was soft, you’ll need to re-freeze the pops for a few hours, until the ice cream is firm again.

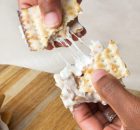
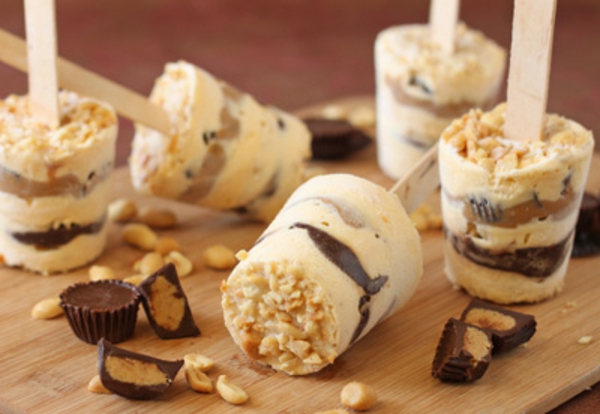
Once the pops are re-frozen, they’re ready to enjoy! Snip the paper cup with scissors, then carefully peel it away from the ice cream pop.
You can get creative with the different layers. Try substituting pecans and caramel sauce and making Turtle Ice Cream Pops, or adding crushed Oreos for a Cookies and Cream variation. You can make a big batch and then enjoy them over the course of a week or two. Maybe by the time you’ve finished them off, it will be a little cooler. Enjoy!
All text and images copyright Elizabeth LaBau