How to Make Chocolate Boxes for Valentine’s Day
With Valentine’s Day fast approaching, I assume you’ve already started thinking about your presents. Maybe you’ve already ordered Valentine’s Day candy. Maybe you’ve bought the ingredients to make Red Velvet Cake Truffles. Who knows, maybe you’ve already hired a skywriter, booked a private jet to France, and bought a rosebush’s worth of flowers! (Overachiever.)
All of that is well and good, but smart gift-givers know that the present is only half of the equation. The presentation is equally important. And what better way to present something than in an elegant, edible chocolate box?

You read that right. A box. Made out of chocolate. It’s like Willy Wonka has gotten into the gift wrap industry! Chocolate boxes are simple to put together, can be made any size at all, and are a beautiful way to display any type of romantic gift. Ready to go?

Chocolate Boxes
yield: 1 large (5″) box or three small (2″) boxes
Ingredients
- 12 ounces chocolate candy coating
- Small red candies to decorate with, like red cinnamon hearts or red candy beads
- Clean paintbrush used only for food
- Ruler
As might be obvious from the short ingredients list, these chocolate boxes are not the most difficult or intricate of recipes. They do require a little mental math, but the worst thing that happens is that you might mis-measure and have to remelt the ingredients. That’s the beauty of working with chocolate, as opposed to, say, cement. Delicious and forgiving.
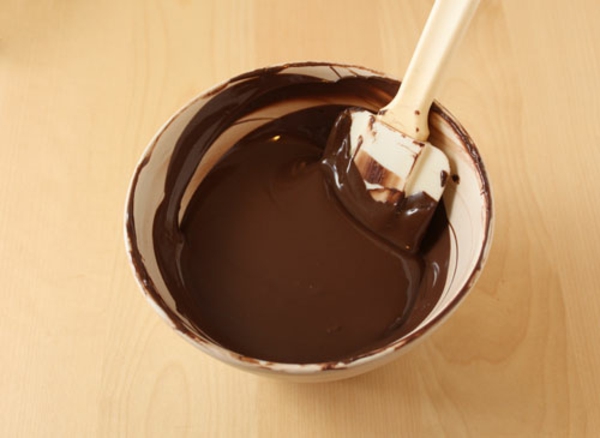
First things first, melt your candy coating. I prefer using coating to real chocolate, because unless the chocolate is tempered, it will get soft at room temperature, and even if it doesn’t entirely melt, it doesn’t hold together well and shows all sorts of fingerprints and scuff marks. By all means use real chocolate if you want to, but know that you’ll want to keep it cool to prevent softening.
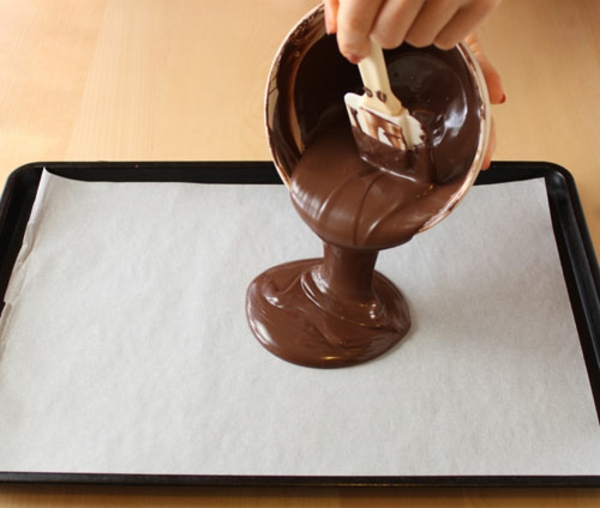
Pour the melted coating or chocolate onto a baking sheet that’s been lined with parchment paper, waxed paper, or aluminum foil.
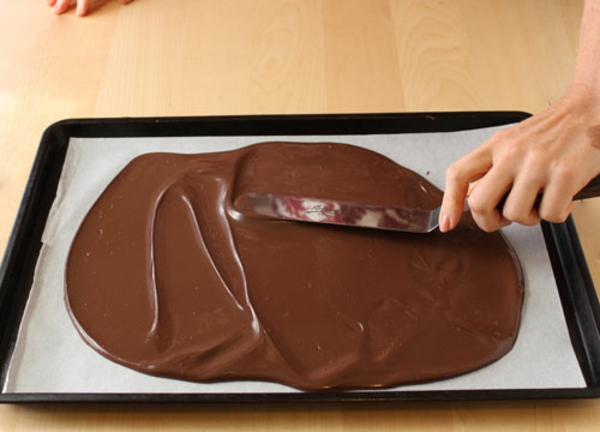
Use a knife or a spatula to spread the coating into a thin, even layer. Something between 1/8-1/4 of an inch should work nicely. My baking sheet was 10×15 inches and I was able to basically cover the whole surface with coating.
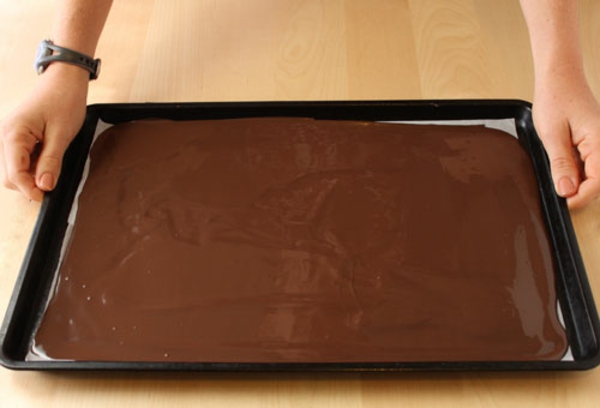
Gently tap the sheet against the counter several times to even it out and bring any air bubbles to the surface. Refrigerate the tray to set the coating for 4-5 minutes. You want it to be partially set but not cool and hard.
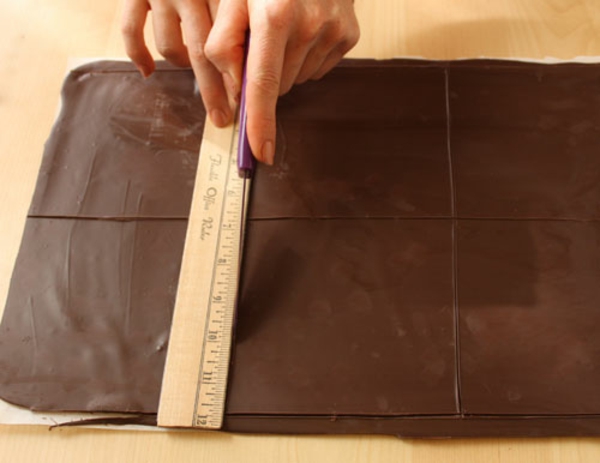
While the coating is still somewhat malleable, take your ruler and a knife and begin to score lines in the coating. It’s best to do this while it’s still soft, because if you wait until it’s hard it’s more likely to crack or break.
The exact measurements you make are up to you. If you want to make small boxes for holding jewelry, candies, or other small tokens, you’ll want to make a series of 2 or 3-inch squares, five squares total for a box without a lid, six squares if you want the lid. I wanted to make a box big enough to hold several dozen Red Velvet Cake Truffles, so I made my base a 5-inch square and made four sides that measured 5 inches by 3.5 inches. You can always re-melt and re-measure if you make any mistakes.
Once the coating has been cut to the desired sizes, return the tray to the refrigerator until the coating is entirely set and hardened.
Time to glue our box together, but instead of using glue, we’re using…more chocolate! Told ya this was better than traditional crafts. I’ll bet this is the first time since kindergarten you’ll be tempted to eat the “paste.”
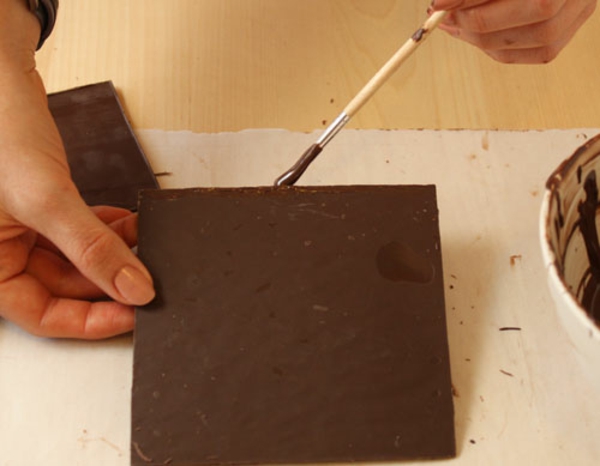
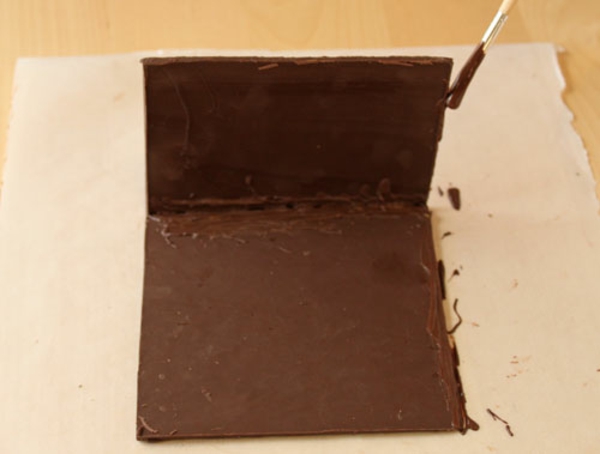
Break apart the chocolate squares on the scored lines, and set all the pieces of your box aside. Take the scraps of coating remaining and re-melt them in the microwave. Place the bottom of your box on a piece of parchment, and use your paintbrush to dab the melted coating all along one side of the bottom.
Press one of the side squares against the base, and hold it until the coating starts to set and it holds itself up. The wonderful thing about coating is that it hardens fairly quickly, and if your chocolate pieces are still cool, then that will speed up the process.
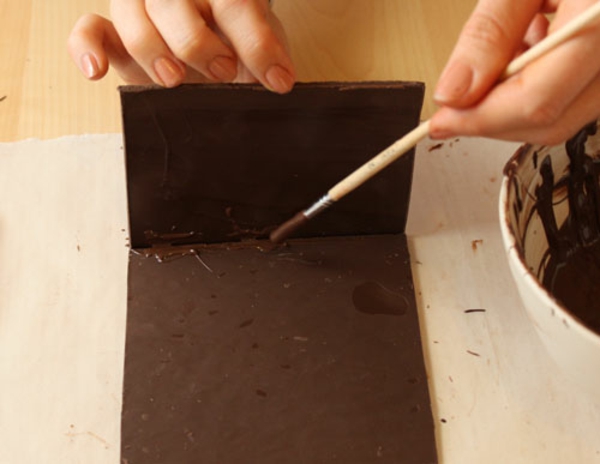
Take your paintbrush and dab more melted chocolate in the seam between the bottom and the sides, to reinforce the box.
Now paint melted chocolate along one of the sides and the bottom, so that the next square will have two surfaces to stick to. Press a second side against the wet chocolate and hold it until it starts to set. Take your paint brush and fill in any cracks in the seams of the side or bottom with additional chocolate.
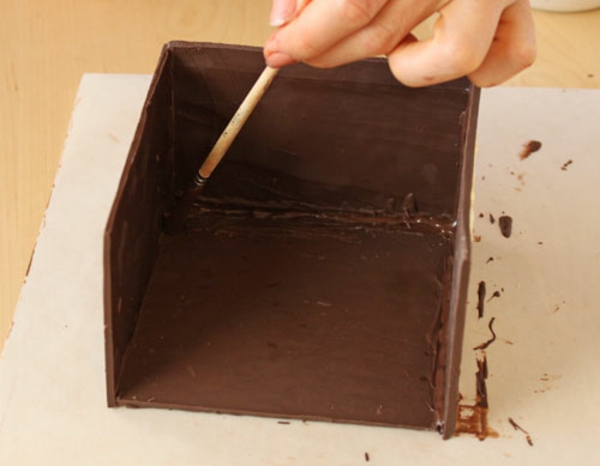
Repeat this same process until you’ve added three walls to your box. It should be looking pretty good by now! Don’t forget to really seal any gaps with extra coating–you want your box to be able to withstand some movement and pressure.

Before we add the final panel, we’re going to get a little fancy. I wanted to add some decorations to my box, so I decided to use some candy to create a pattern on the front. I used these red cinnamon hearts and red candy beads
, arranged them in a pattern, and stuck them on with some melted chocolate.
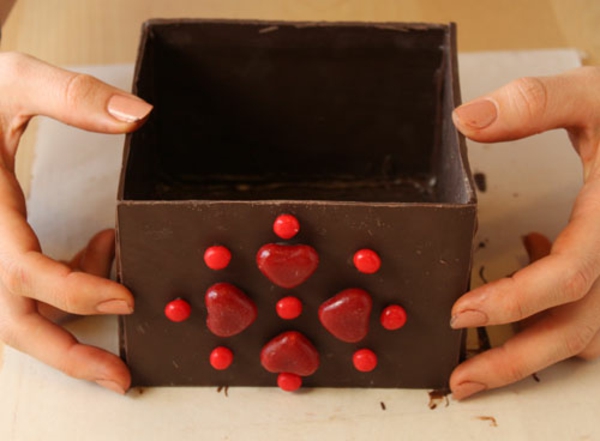
Paint the two exposed sides and the edge of the bottom with melted chocolate, then press the final panel, the decorated front piece, onto the melted chocolate. Hold it until it sets, fill in any gaps, and then–voila!–your chocolate box is finished.
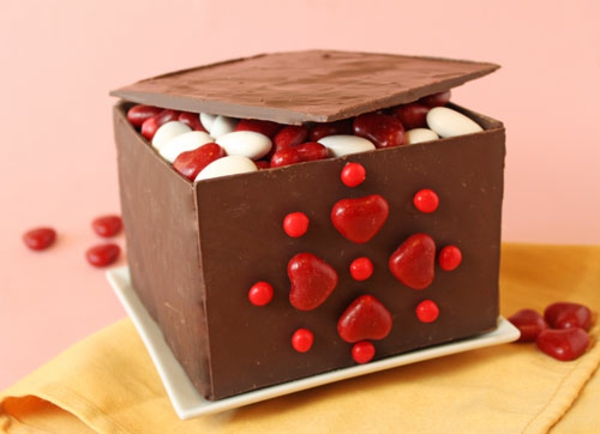
This chocolate box can be filled with truffles, chocolates, candy, jewelry, and many other gifts. Happy Valentine’s Day!
All text and images (c) Elizabeth LaBau